

Manual Testing - BDD
Welcome!
This tutorial walks you through manual testing in a BDD project. BDD means you write tests as plain-language scenarios with Given, When, and Then.
What you will do:
- Create a BDD project.
- Add a suite, which becomes your feature file.
- Write a Gherkin scenario.
- Reuse a shared step.
- Run the scenario manually.
Create a BDD project
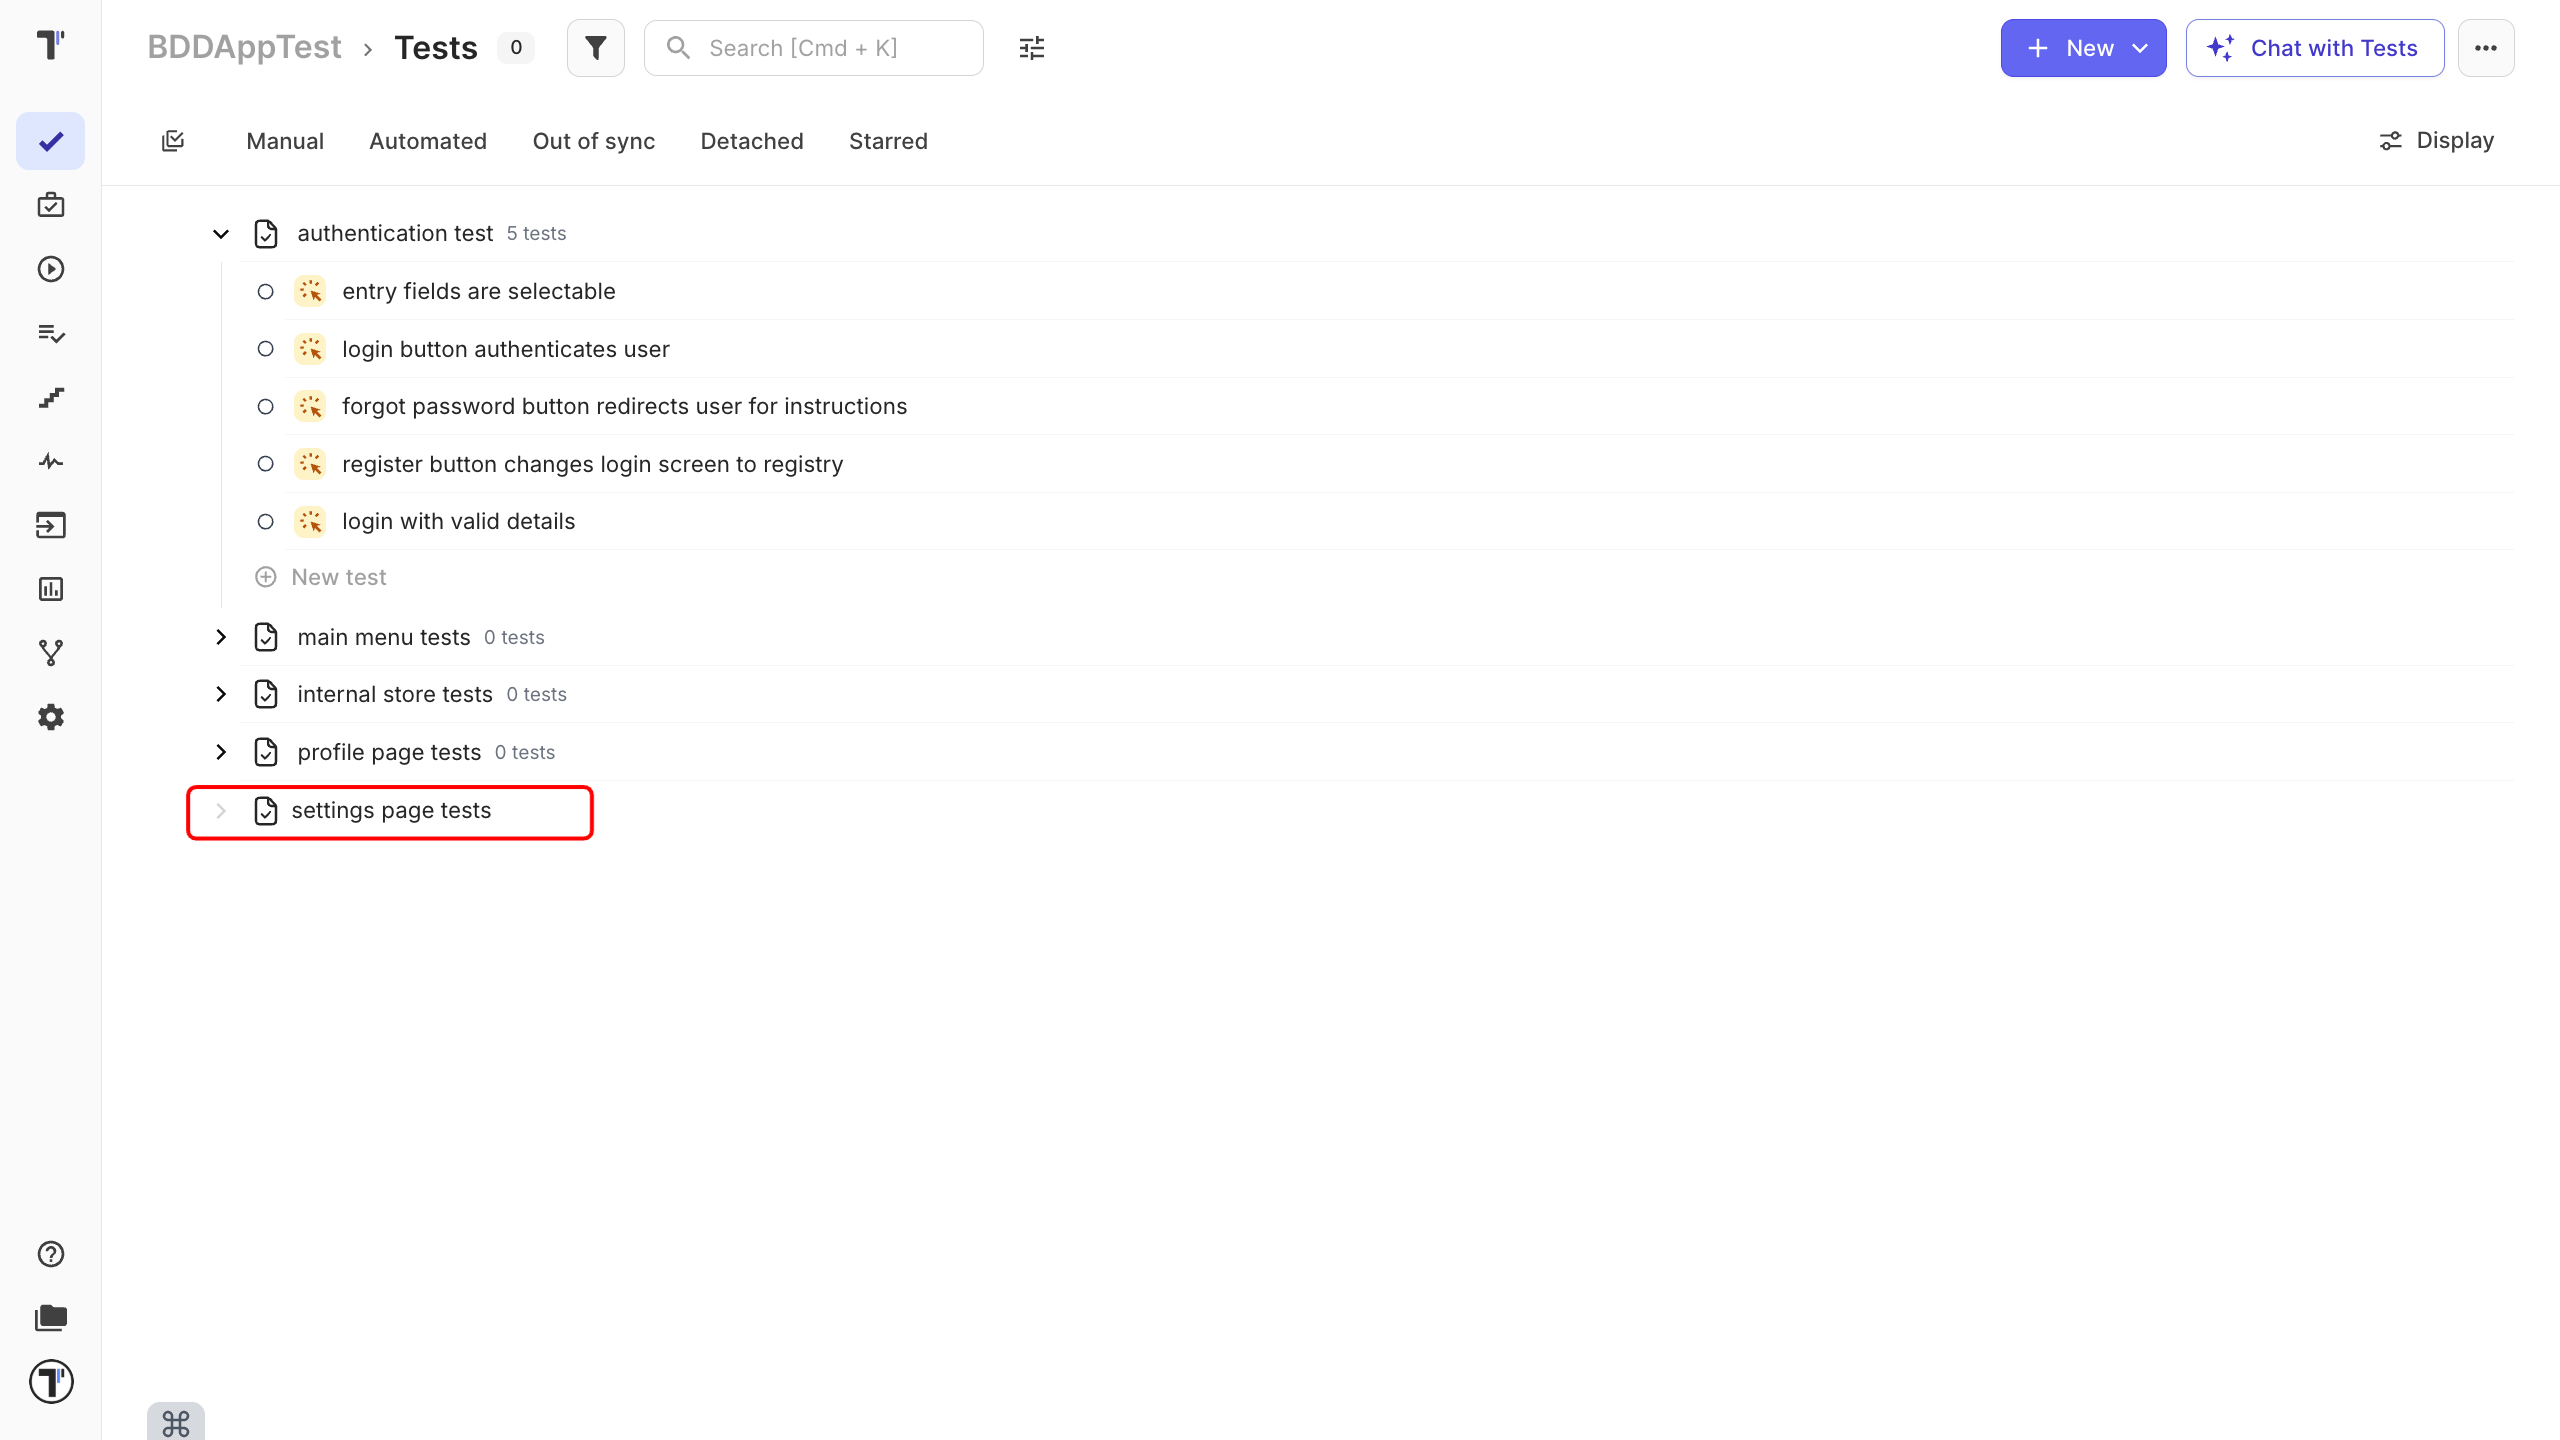
Section titled “Create a BDD project”- On app.testomat.io, click Create in the top-right corner.
- Enter a name in the Project Title field.
- Choose a BDD Project.
- Leave Fill demo data unchecked, so you start clean.
- Click Create.
Add a suite
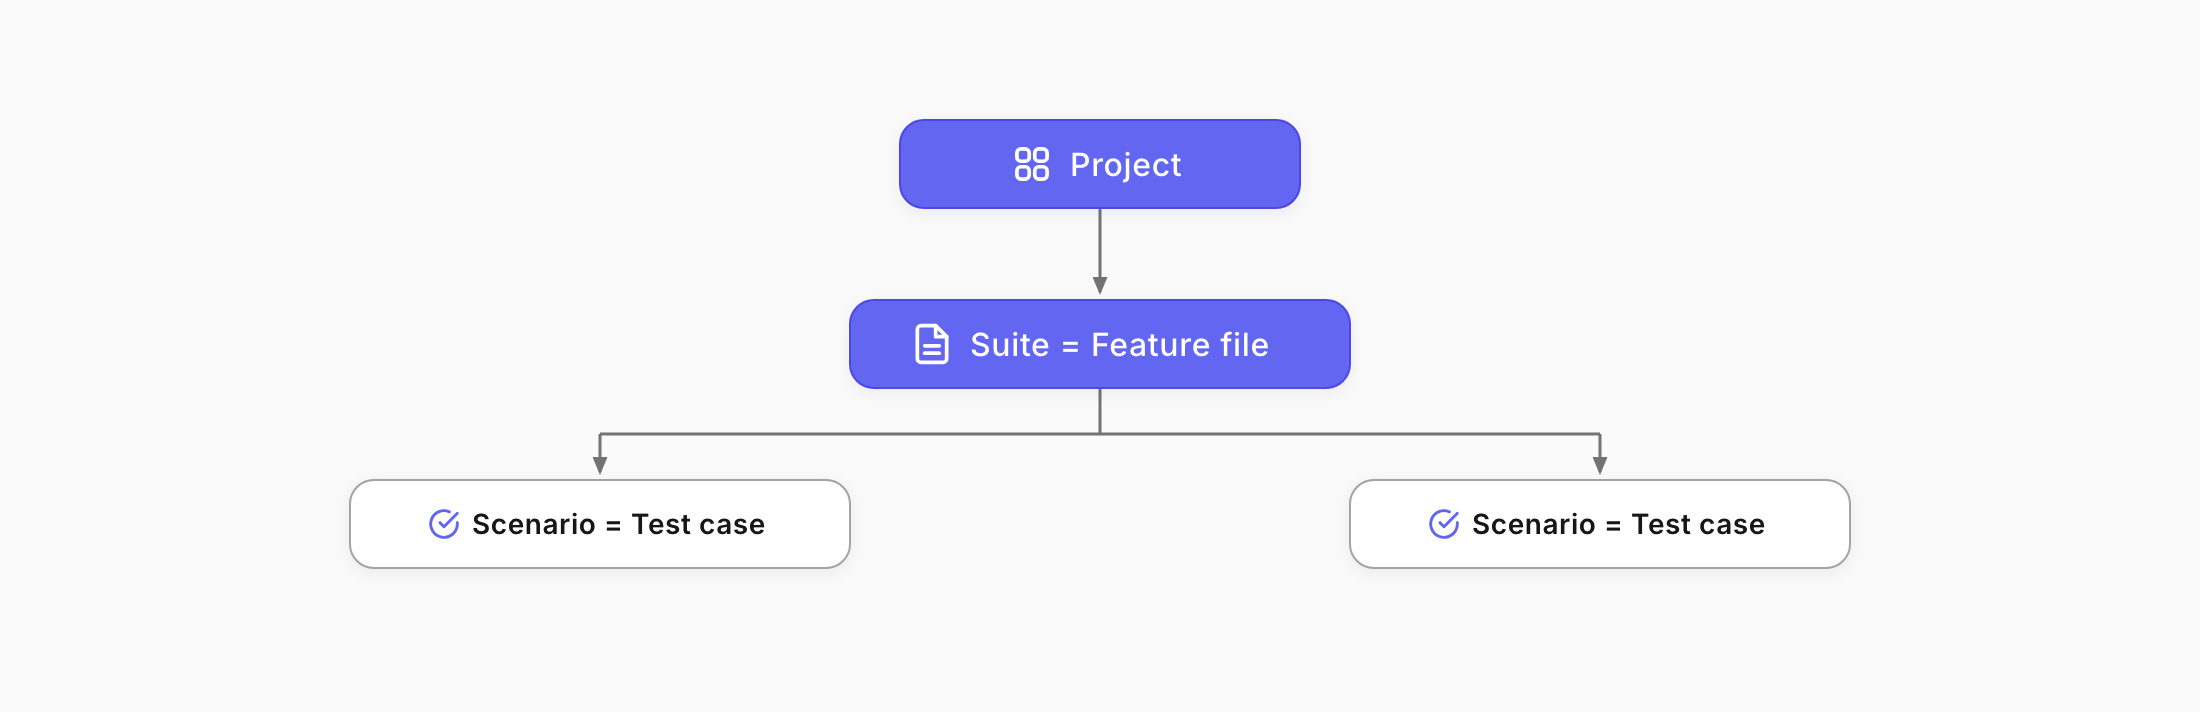
Section titled “Add a suite”In a BDD project, a suite is your feature file, the place where your scenarios live.
- On the Tests page, click New suite.
- Type a name in the suite input field, for example, “Login tests”
- Press
Enter.
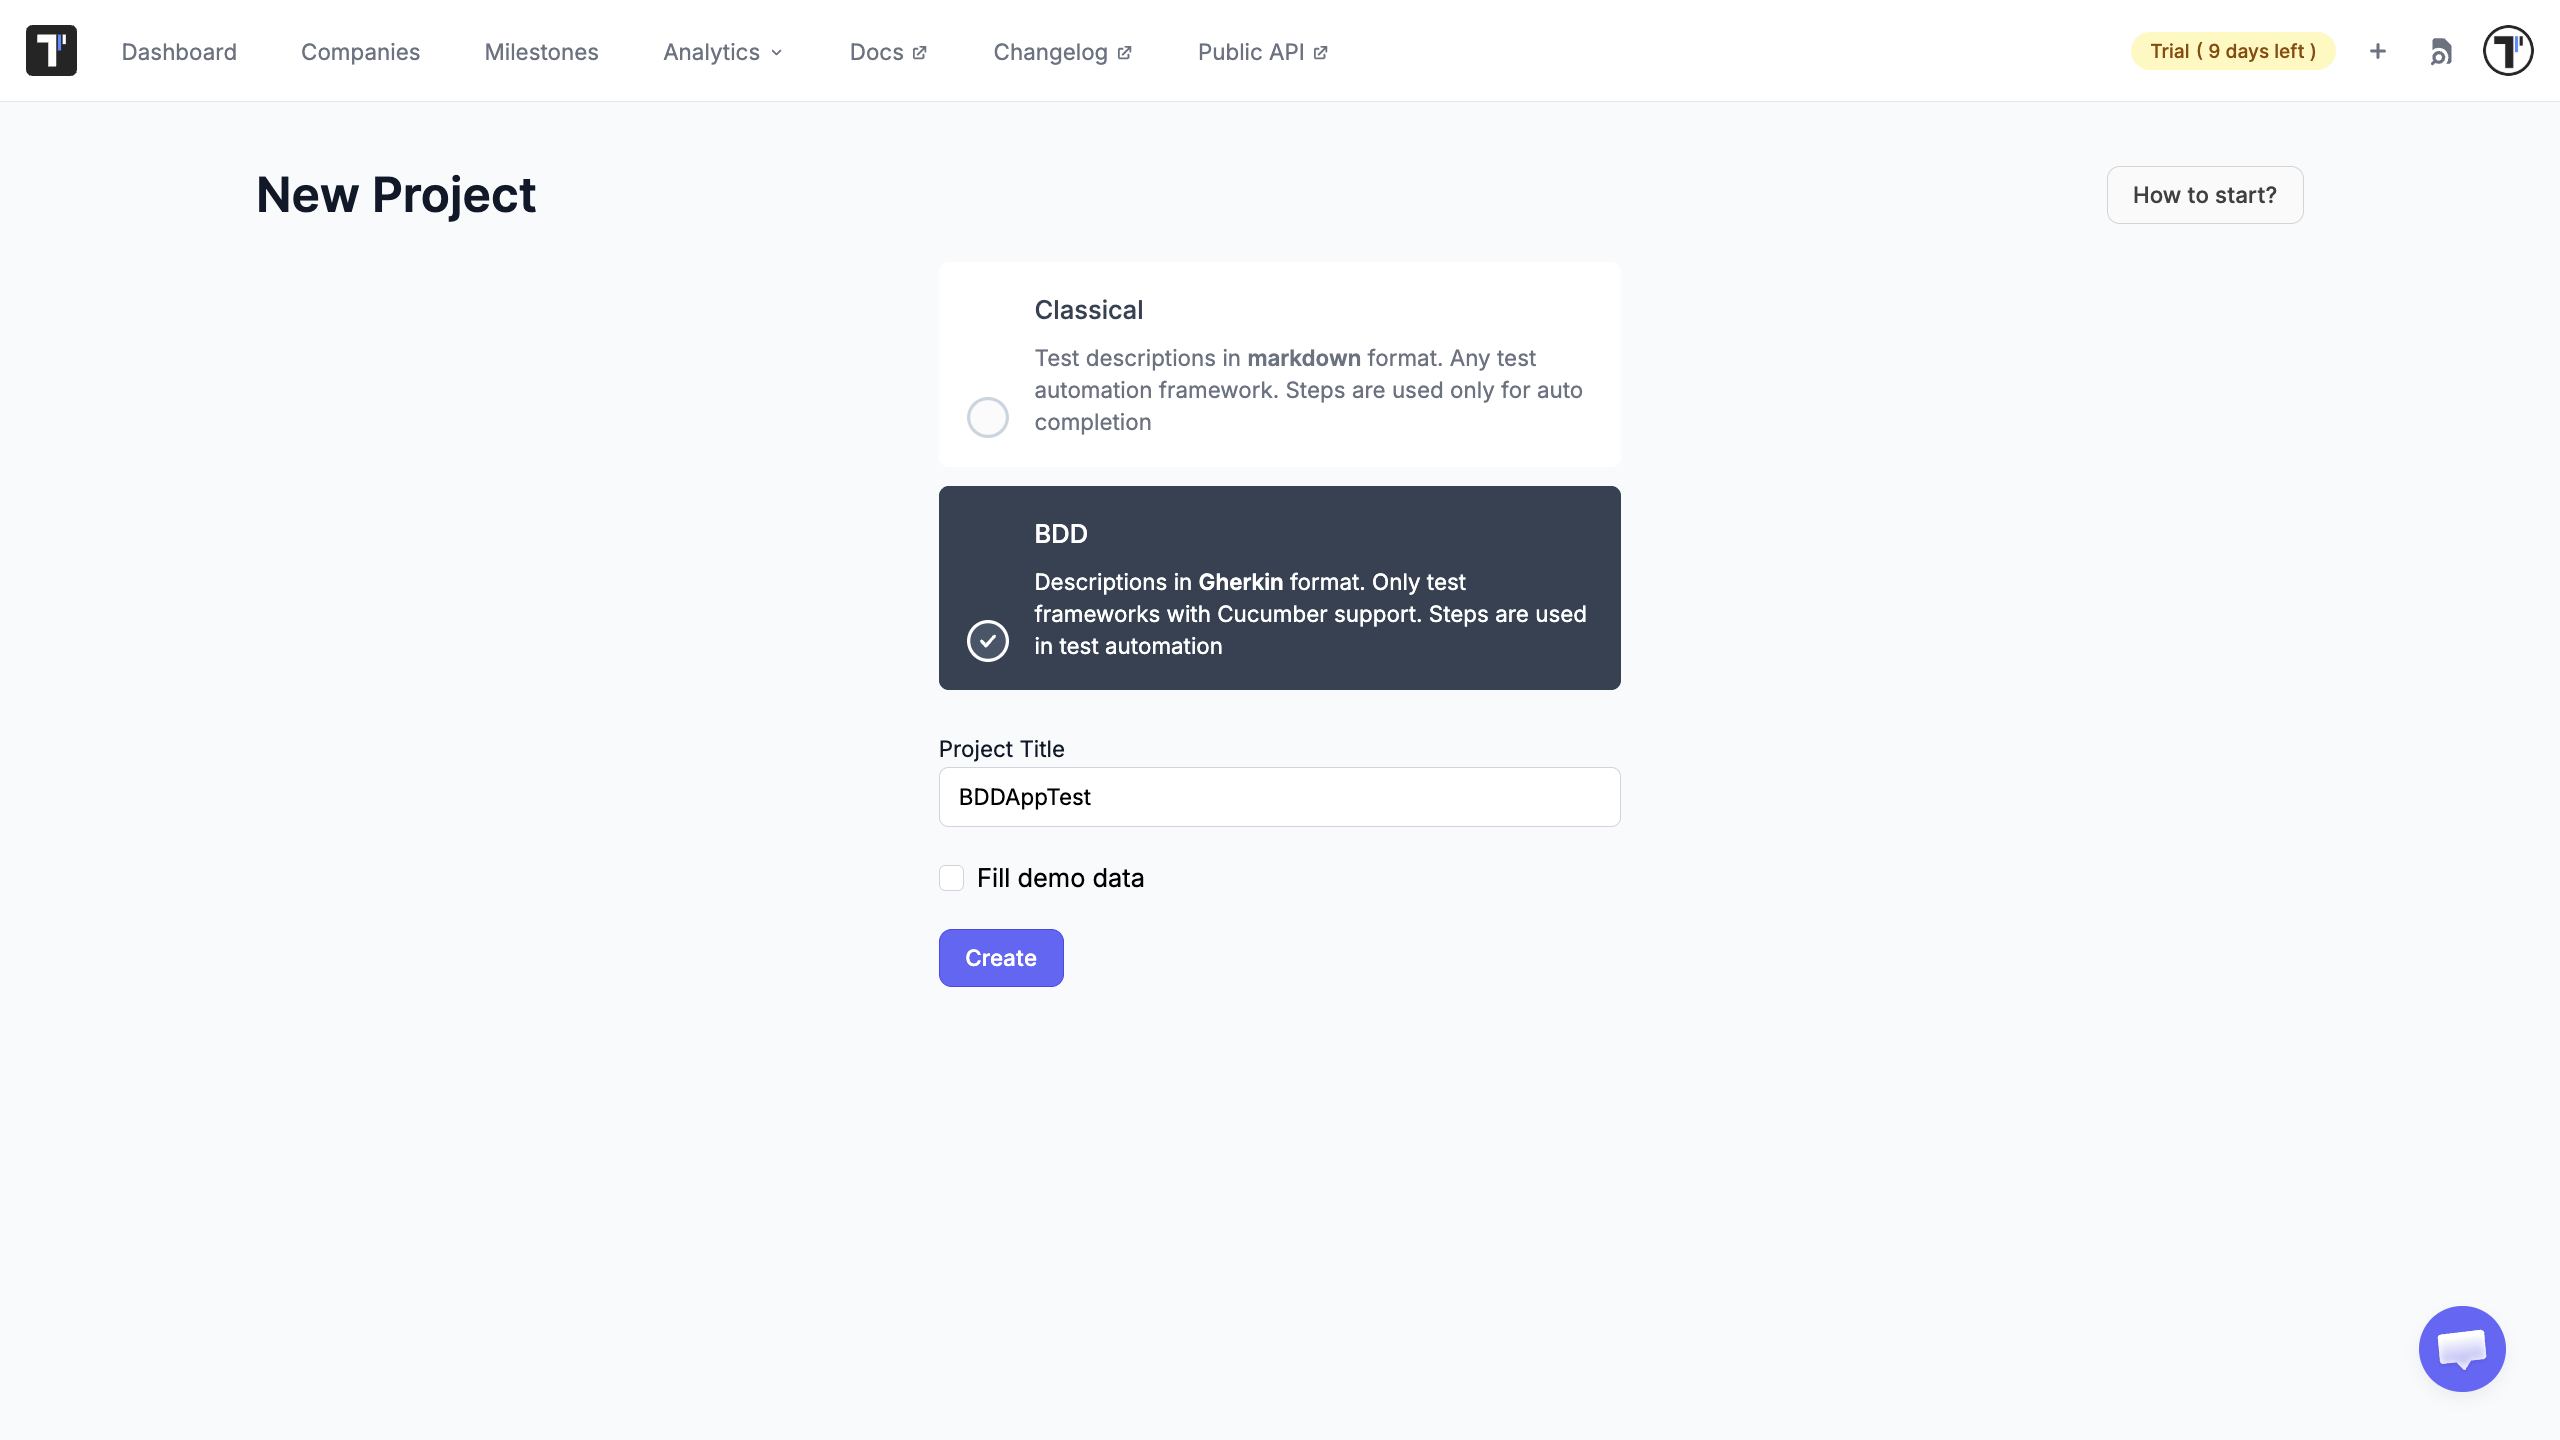
Your feature file appears in the tree, ready for scenarios.
Write a scenario
Section titled “Write a scenario”Now write a scenario using Given, When, Then. Given sets the starting point, When is the action, and Then is the expected result.
- Select your suite and add a test, for example, “Log in with valid details.” This test is your scenario.
- Click the test to open the BDD editor.
- In the editing area, write the steps.
- Click Save.
Write scenarios with one clear action per line. For everything the editor offers, see the BDD Test Case Editor.
Reuse a shared step
Section titled “Reuse a shared step”Some steps appear in many scenarios, such as “Given I am on the login page.” Instead of retyping them, you reuse a shared step. As you type, Testomat.io suggests steps you have already written.
- In a new or existing scenario, start typing a step you used before.
- Pick the matching step from the autocomplete list.
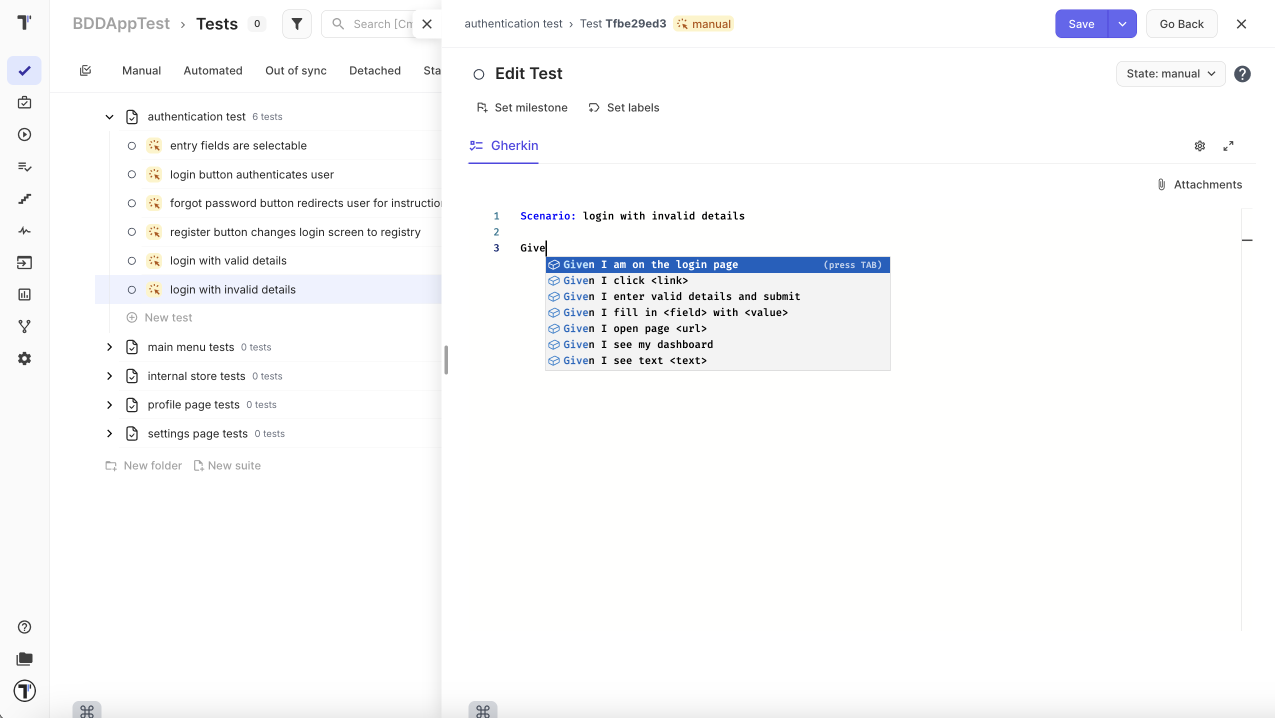
Reusing steps keeps your scenarios consistent and saves time. When a shared step changes, you update it in one place.
See Shared Steps for the full picture.
Run the scenario manually
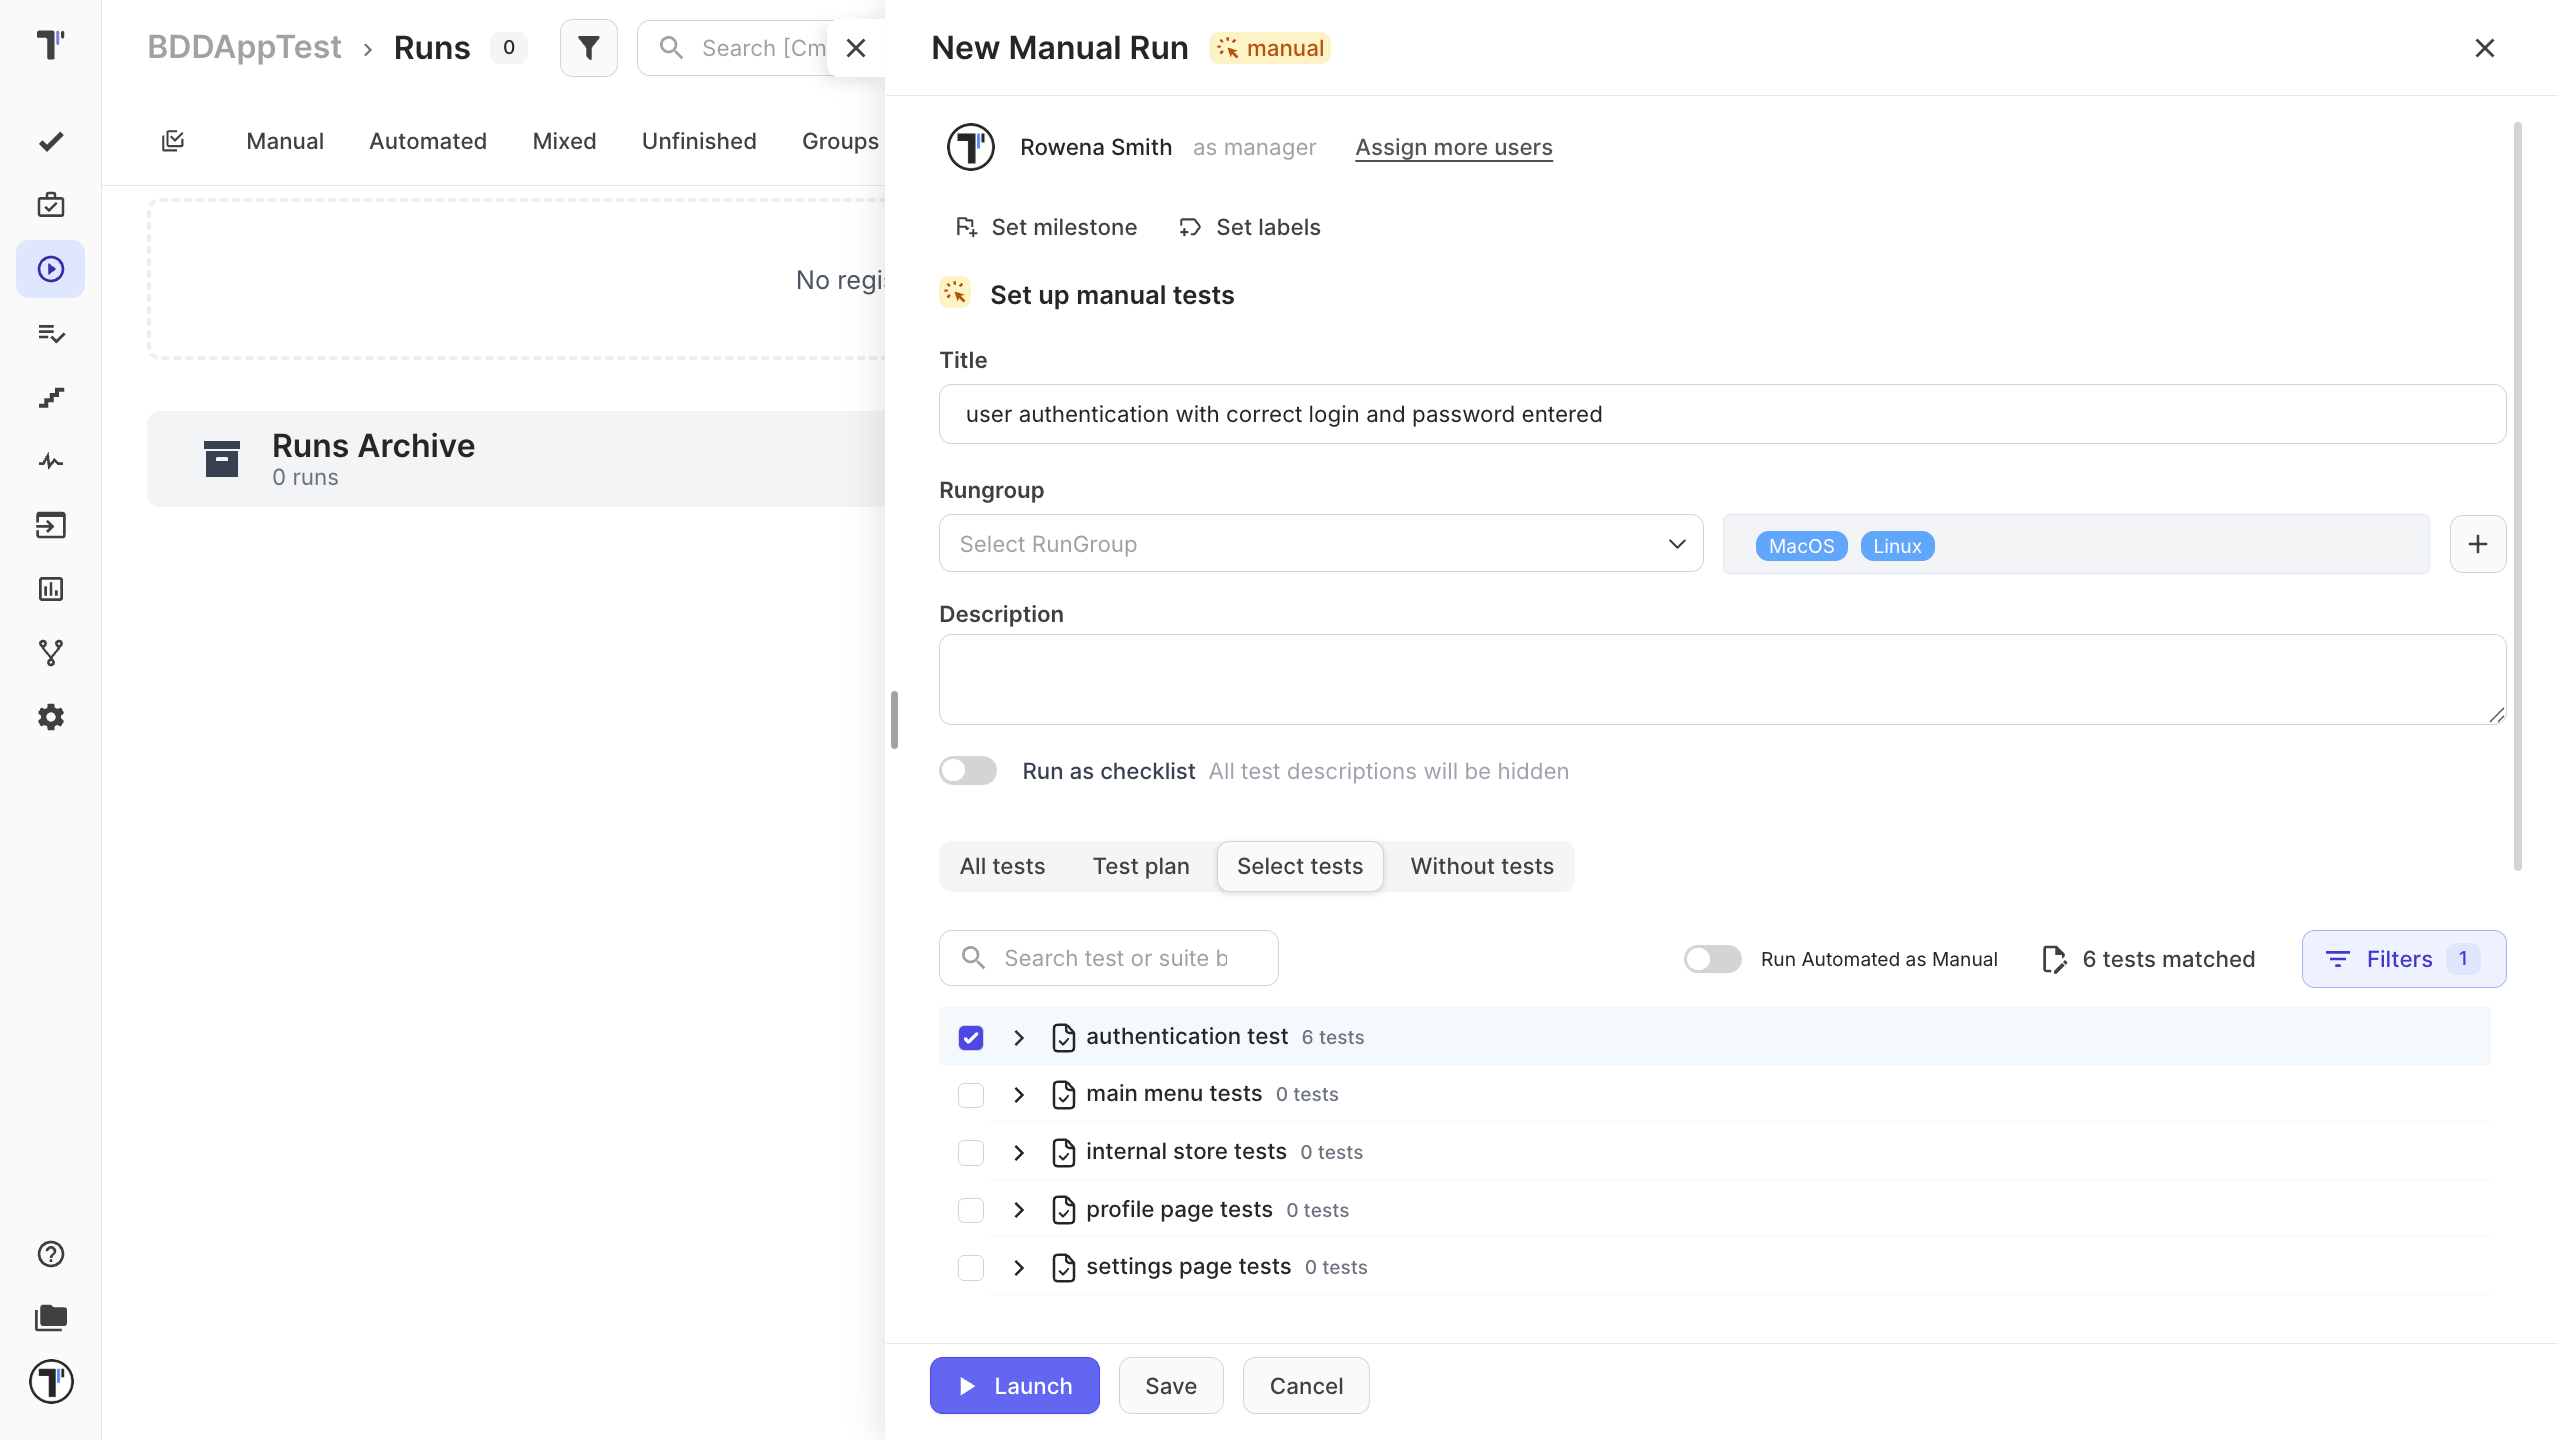
Section titled “Run the scenario manually”- Open the Runs tab in the sidebar.
- Click Manual Run.
- Give the run a title, and set the environment if you want.
- Tick the checkbox next to your tests.
- Click Launch.
You now step through the scenario. Follow each Given, When, and Then, and mark the result:
| Mark the result | Shortcut |
|---|---|
| Passed, if the behavior matched. | Cmd+Enter on Mac, Ctrl+Enter on Windows |
| Failed, if it did not. Add a note, attach a screenshot, or link a defect. | Cmd+U on Mac, Ctrl+U on Windows |
| Skipped, if you did not run it. | Cmd+I on Mac, Ctrl+I on Windows |
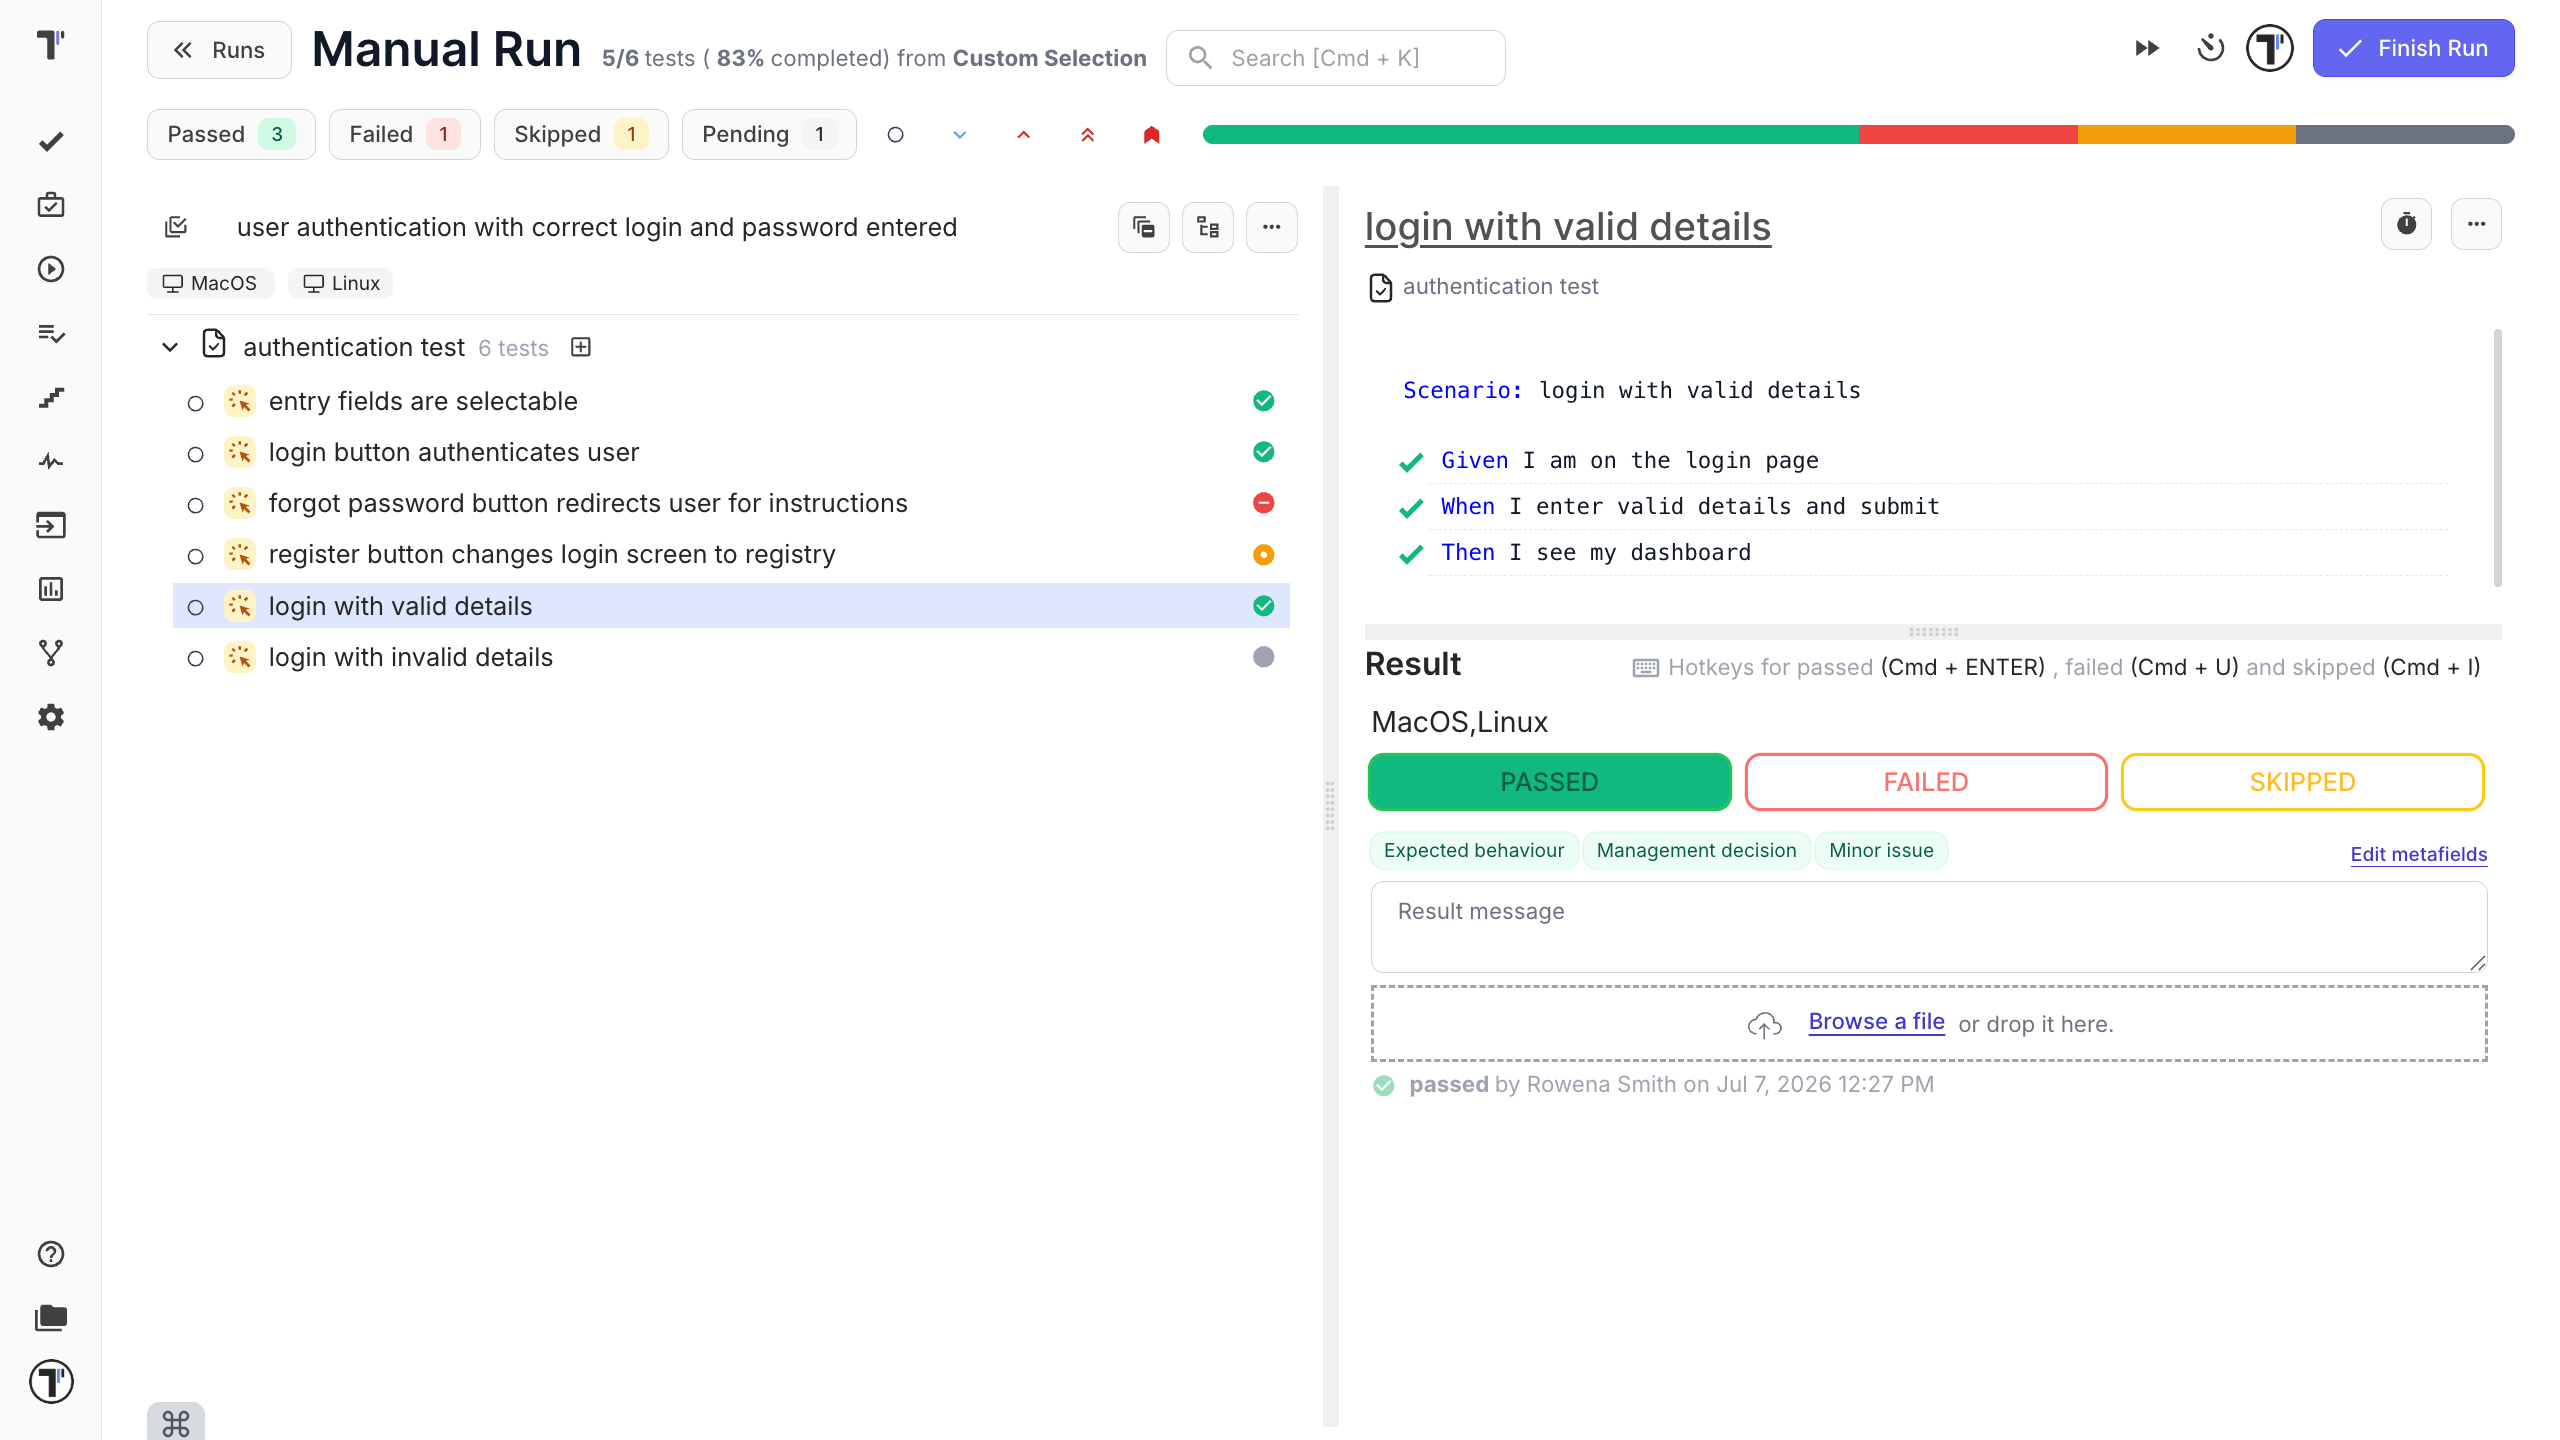
If the run has many scenarios, use the search box in the run to jump straight to a test or suite by name instead of scrolling through the whole list.
When every scenario has a result, click Finish Run to close the run. That is what turns it into a report.
Next steps
Section titled “Next steps”- See the BDD Test Case Editor for more.
- Ready to connect scenarios to code? See Import Cucumber BDD Tests.